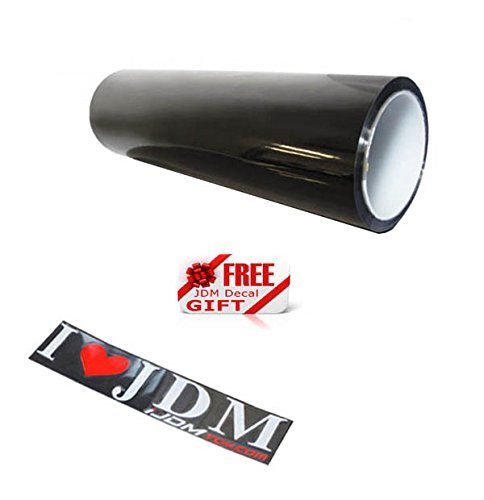
iJDMTOY 12 by 48 inches Self Adhesive 20% Dark Black Headlights, Tail Lights, Fog Lights Tint Vinyl Film
- 1 piece 12 by 48 inches
- Color: 20% Dark Black
- Self-adhesive, peel and stick
- Stretchable with heat and water resistant
- Easily cleansed with water and easy to remove without residual


Rhiru A. Biñas
Works great!
Is the perfect size for headlights and taillight tinting. Do be careful about the laws in your area concerning altering your lights. I used to darken the lights on a 2014 Mazda 3. I think it improved the look of the car without blocking too much light. A heat gun is a must!
Mylene Mylene
!!You MUST use heat and soapy water!! You'll get really good results with this material if you put in the time and effort.
This product works fine as long as you use heat, and a little bit of soapy water. (He used Johnson + Johnsons) I had a friend install it. He's been applying automotive vinyl to cars for about the last two years. He complained a LOT because I didn't buy the significantly more expensive Oracal vinyl. Told him to stop whining, and the end result is really great! I've ordered and had him install both the "Golden Yellow" tint, as well as this 20% smoke tint. This tint is what you want if you're looking for darkened, but not blacked-out headlights. A few issues I've seen people bring up - - This product DOES pull off cleanly. You need to be sure to apply heat before you go to pull it off. Next thing - The tint comes to you in sort of a tightly wound "fruit roll up" form. Heat it up! Smooth it out. Problem solved. Here are some general tips for installation, which I picked up after watching friend go through this like three times: Flatten/smooth out the "shipping folds"/kinks in the vinyl using a hair dryer or heat gun. Doesn't have to be perfectly smooth, you'll get the rest of it out later. Just don't want it curling back in on itself. Test fit and do a rough cut that will give you enough overlap to cover as much of the lens as you have access to. Make sure the headlight is totally smooth, cleaned off. (I spent a few hours using a 3M headlight polishing kit prior to install) Give the clean headlight maybe 2 quick spritzes of soapy water. Peel the protective film backing off of the vinyl, spray even more soapy water onto the exposed adhesive. Just slap it on, start working out bubbles and squeegeeing out soapy water Once you've gotten most of the larger bubbles, you should peel off the second protective film layer. Start using the hair dryer, and your squeegee tool. Work more of the soapy water out, form the vinyl to the contours of the lens as best you can. You may find yourself with a few small bubbles that you can not work out. You'll need to puncture the vinyl to let it out. Only needs to be a pinprick. Friend used the tip of a fresh x-acto blade. Just go very slowly. Take your time. Buy a couple of rolls in case you screw up (they're dirt cheap!)
James Rippingale
It looks awesome but requires lots time and effort to get to ...
I haven't yet finished putting it on my motorcycle blinkers its really really hard for a 1st time user well not hard you need patience I just don't have it and gave up but the one I almost died looks just as every elses pics. It looks awesome but requires lots time and effort to get to perfection.
Chloey Amber-rose Ella-Grace
Easy to apply and looks great
There are 2 clear protective layers covering the actual vinyl. I didn't know that and thought I needed soap and water to make it stick. Very easy to apply and cut once I figured out what I did wrong. Picture 1 is with the tint applied on the sidemarker, picture 2 is with the light on. Picture 3 is what the OEM sidemarker looks like, and picture 4 is the OEM sidemarker illuminated.
Sharath Sukumar
Great stuff
It has self adhesive aka pretty much it's sticky on one side. I apply ed it the same day I got it by myself. I used a heat gun to help stretch the tent over bends. So much easier if you have a friend to help you. I'd buy it again. Only flaw is they didn't send that free sticker....... was sad......
Scott Hines
Good product
Does what I needed it to do. Would buy again
Pamela Michelle Peavy
Excellent product
The product is really easy to install, I used it on my mustang tail lights, I personally love how they look as other people do too. I’ll keep buying from you guys because now most of my friends want me to tint their tail lights . Here is a pic of the before and after Thank u
Stephen Kelly
Looked Great and Easy to Apply
I got this tint for my 350z headlights. I always wanted some smoked headlights but didn't want to pay $300 just for the darker look. Came across this tint and decided to go with it since it was so cheap. It took me maybe and hour and a half to apply the film to both sides. It gave me the perfect amount of smoke that I was looking for and just completely changed the look of my front end. I am actually going to be ordering this again for my mustang!
Christine Keirs
Easy to apply using a spray bottle with soapy water ...
Easy to apply using a spray bottle with soapy water to mist the light, apply the decal, adjust it, and heat it up pushing out the bubbles. I used a hair dryer. It is pretty dark. I did my fog lights and side marker lights. I wouldn't want to do my headlights. It looks great in the daylight but cut down on the vision a lot at night on my fog lights. The roll was packaged well in a tube with no wrinkles.
Stacy Lynn Farley
It does a good job at tinting
I forgot why I purchased this but, I used it to tint my radar detector so the lights wouldn't be so bright to anyone else watching while driving at night. It does a good job at tinting. My radar detector is like a strobe light, this covers it up pretty well. Still looking to apply this to other aspects of my car. Super nice tint though.